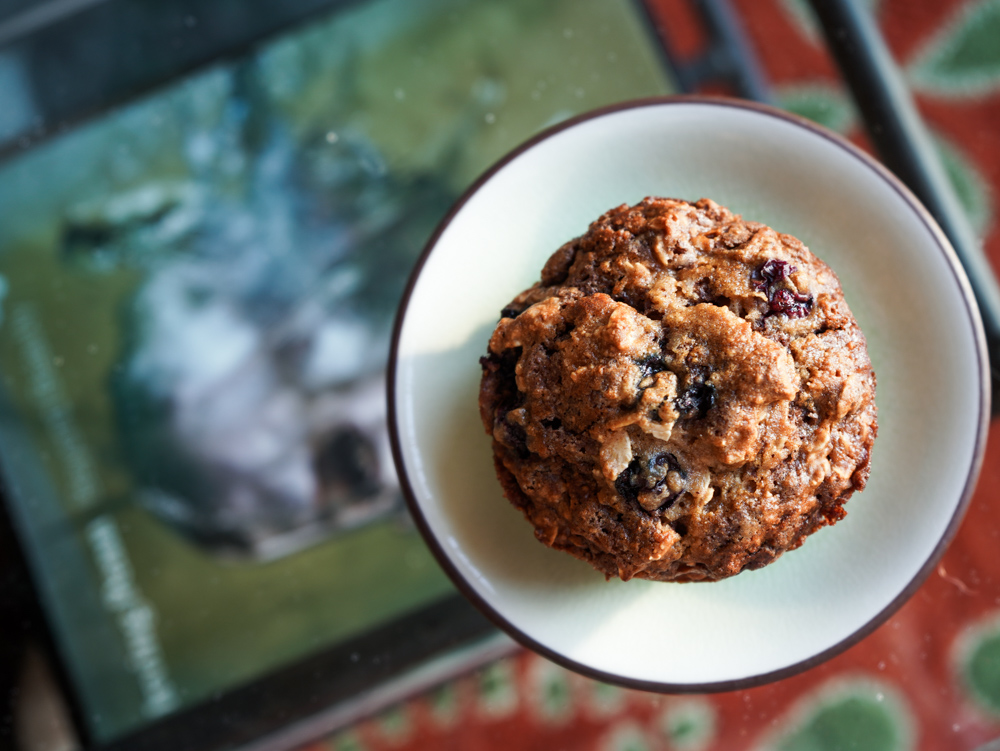
Our usual breakfast is normally very utilitarian – a bowl or oatmeal, yogurt with fruit. Definitely not much in the way of baked goods. But this morning felt a little more celebratory, so I decided we could do with some muffins.
Erika, the creative behind Simply Low Cal, a great resource for those among us who watch calorie intake, posted this 100 Calorie Blueberry Muffin recipe. Since I had an already-opened jar of unsweetened applesauce and a container of blueberries, this find seemed serendipitous. It was not only that, but it was also delicious and satisfying.
I made a few modifications including making the muffins in a larger (double sized) tin and using fresh blueberries in place of the frozen. Definitely a keeper recipe that can be adapted.
There are moments when I wish I had the foresight to set up my gear so that I could photograph the hot food right out of the oven. The image from this recipe would have been high on my list of could-a, should-a photography.
Delicious as a left-over, when the original casserole, which was created by kitchn.com food editor at large Christine Gallary, came from the oven, the gooey, hot molten cheese on top and scattered throughout the casserole base would have made for great food porn. Alas, you’ll just have to take my word for it, or better still, make this casserole for yourself and live in the moment.
Arrange a rack in the middle of the oven and heat to 400°F. Coat a 9×13-inch baking dish with cooking spray or olive oil; set aside.
Heat the olive oil in a large frying pan over medium heat until shimmering. Add the onion and cook, stirring occasionally, until softened, 8 to 10 minutes.
Add the sweet potatoes to the pan and cook until just heated through, about 5 minutes (they will not be cooked through). Transfer the mixture to a large bowl.
Add the black beans, drained tomatoes, 1 cup of the mozzarella, smoked paprika, salt, and garlic and stir to combine.
Transfer to the baking dish and spread into an even layer. Sprinkle evenly with the remaining 2 cups mozzarella cheese.
Spray a large sheet of aluminum foil with cooking spray or coat with olive oil. Place the foil greased-side down over the baking dish and cover tightly.
Bake for 30 minutes. Uncover and bake until the sweet potatoes are tender and the cheese on top is browned in spots, about 30 minutes more.
Let cool 10 minutes before serving topped with yogurt and cilantro.
Keeping with one of my New Year’s resolutions, I have been exploring cooking from the items we keep on hand in our pantry. This shift in meal preparation was precipitated by Christopher Kimball’s Cook What You Have, and while it is an adjustment, I’ve found it particularly satisfying to raid our fridge and pantry. We still cook from our repertoire of favorites, but having a 25 +/- pantry of standards is helping me to be more mindful about shopping for seasonally available and local items, and we’ve been able to cut our food shopping expenses quite a bit.
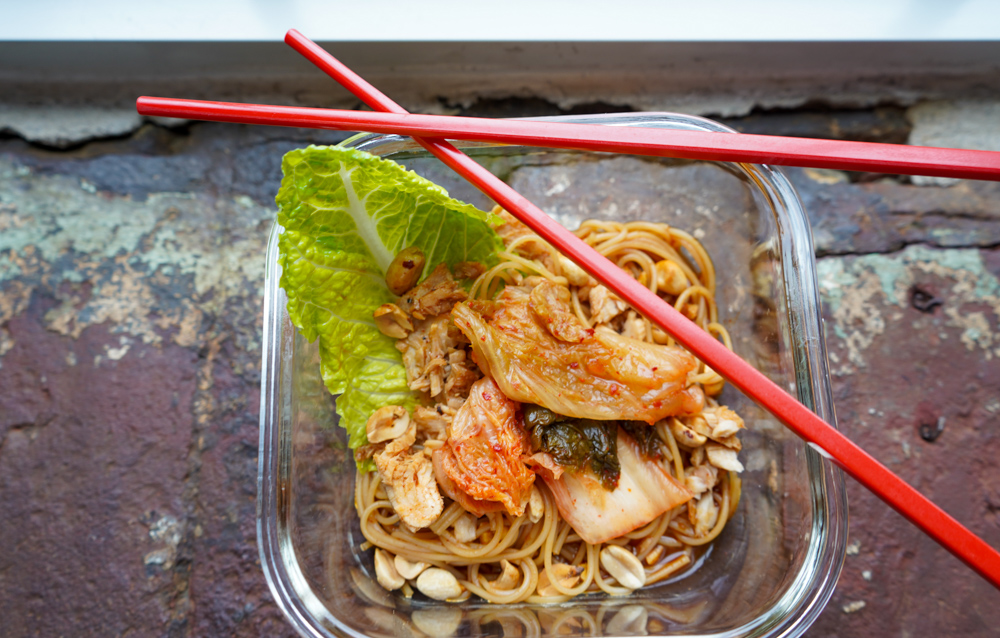
On this pre-snowmagedden afternoon in Massachusetts (the list of school cancellations is growing by the hour), I made Tuna Gochujang Noodles (p. 43). This was served with kimchi on the side and with some unsalted, roasted peanuts on top for a little added crunch. Gochujang really makes this both savory and rich and, at least here in Massachusetts, it is fairly commonly found in food stores.
Delicious, satisfying, and, I almost won’t care if we lose power.
Tuna Gochujang Noodles
Ingredients (see referenced cookbook p 43 for instruction)
capellini or somen noodles (I had capellini in the pantry)
gochujang
toasted sesame oil
soy sauce
brown sugar
unseasoned rice vinegar
fresh ginger or garlic or a combination (I stuck with the ginger)
One of the cooking books I received this year was Christopher Kimball’s Cook What You Have from Milk Street Kitchens. It has really been a game-changer for me in terms of meal planning and food shopping in that, using a roster of about 25 regular ingredients, I’m starting to raid the ‘fridge and pantry as opposed to setting out to food shop for a specific recipe. The shift in thinking may be subtle, but it is having quite an effect on what I shop for and, more importantly, what our weekly food shopping costs. I also am enjoying not being boxed in to cooking what sounded like a good idea when I prepared our grocery list but no longer appeals to me.
And I like a little spontaneousness.
Of course, there are times when I’ll discover a recipe that I’d like to give a whirl, such as this Red Curry Lentil recipe developed by Lidey Heuck, a contributor to the Food/Cooking columns of the New York Times. The needed ingredients actually turned out to be in alignment with Cook What You Have’s theory of cooking – we actually had everything except a bag of baby spinach on hand, proving that going off on a recipe hunt will still be no problem.
This was a deliciously easy recipe, ready in under an hour – and it makes for some really great leftovers!
1 red chile, such as Fresno or serrano, halved, seeds and ribs removed, then minced
1 tsp ground turmeric
1 c red lentils, rinsed
4 c vegetable stock (low sodium)
2 tsp kosher salt
1 (13-ounce) can full-fat coconut milk
1 (4- to 5-ounce) bag baby spinach
½ lime, juiced
Fresh cilantro leaves, for serving
Toasted unsweetened coconut flakes, for serving (optional)
Method
In a Dutch oven or pot, heat 2 tablespoons olive oil over medium-high (I needed a bit more – perhaps because the Dutch oven is so efficient with heat). Add the sweet potatoes and cook, stirring occasionally, until browned all over, 5 to 7 minutes. Transfer the browned sweet potatoes to a plate and set aside.
Add the remaining 1 tablespoon olive oil to the pot and set the heat to medium-low. Add the onion and cook, stirring occasionally, until translucent, 4 to 6 minutes.
Add the curry paste, garlic, ginger, chile and turmeric, and cook until fragrant, about 1 minute.
Add the lentils, stock, salt and browned sweet potatoes to the pot and bring to a boil over high. Lower the heat and simmer, uncovered, stirring occasionally, until the lentils are just tender, 20 to 25 minutes.
Add the coconut milk and simmer, stirring occasionally, until the liquid has reduced and the lentils are creamy and falling apart, 15 to 20 minutes.
Add the spinach and stir until just wilted, 2 to 3 minutes.
Off the heat, stir in the lime juice and taste for seasoning (add salt to taste, but I didn’t think this was needed).
Divide among shallow bowls and top with cilantro and coconut flakes, if using.
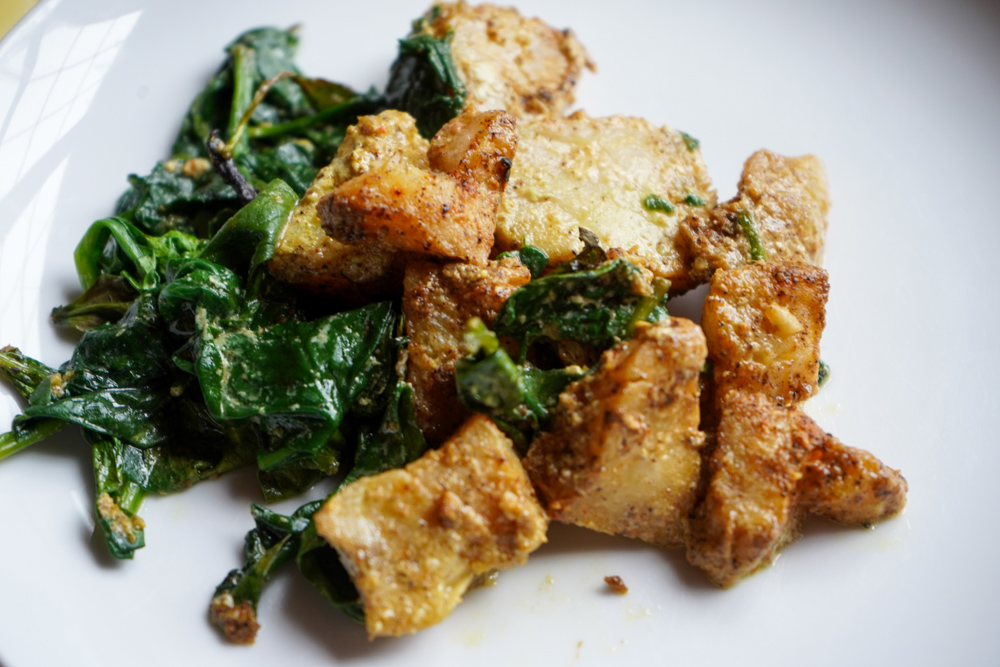
Zainab Shah, is among other accomplishments, a food contributor to the New York Times. This easy, weeknight recipe is among the many she has contributed to the Times and other publications as well. The combination of warming spices and the easy prep make this one a definite keeper!
1-½ lbs. firm, white-fleshed fish (I used frozen & thawed version), cut into chunks)
¼ c olive oil
2 TBSP full-fat Greek yogurt
1 TBSP garam masala
1 tsp Kashmir or other red chile powder (I used an Aleppo Pepper chile powder)
1 tsp ginger paste or freshly grated ginger
1 tsp garlic paste or freshly grated garlic
1 tsp ground coriander
½ tsp ground turmeric
Fine sea salt
1 lb baby spinach (about 14 packed cups)
Rice or roti, for serving
Method
Heat the oven to 425 degrees. Pat the fish dry and set aside.
Combine the oil, yogurt, garam masala, chile powder, ginger, garlic, coriander, turmeric and 1 teaspoon salt in a large bowl and stir until the marinade is smooth. Add the fish and coat evenly.
Arrange the spinach in an even layer on a large sheet pan. Place the fish on the spinach, dispersing it evenly. Bake on the top rack for 10 to 12 minutes, or until the fish starts to turn golden.
Set the oven to broil and broil on high just until the fish turns golden brown, 3 to 4 minutes. Season to taste with additional salt.
Finding new cookies for holiday baking is a passion. While all of us in this house enjoy traditional cookie recipes, sometimes we’ll find one – or two – that seem to be stand-outs. This recipe for a twist on the Mexican sweet bread, concha, was published in the Washington Post food section and comes via Isabel Coss, pastry chef at Washington DC’s Lutèce.
The cookie is made in two parts: a buttery sugary base flavored with orange blossom water and orange rind while the craquelin crust is a vanilla infused butter-sugar crust. The trademark shell swirl is created with the help of a 2 1/2 inch Concha cutter. My cookies were quite a bit rounder and less flat than the recipe photographs – something to work on for next time around.
Generous 1/3 cup (80 grams) vegetable shortening (may substitute softened unsalted butter)[I used unsalted butter]
1 tsp vanilla extract
1 to 2 drops pink gel food coloring (optional; may use other color of your choice)
Ingredients for the cookie
2 -1/3 c (300 grams) cake flour, plus more as needed
1/2 tsp baking powder
1/4 tsp fine salt
11 TBSP (155 grams) unsalted butter, softened
3/4 c (150 grams) granulated sugar
1 large egg, at room temperature (I used an egg substitute to accommodate allergy)
1 tsp orange blossom water (online or Middle Eastern Markets)
1 tsp vanilla extract
Finely grated zest of 1 orange (about 1 tsp)
Method
Making the Crust
In the bowl of a stand mixer fitted with the paddle attachment, or using a large bowl and a hand mixer, beat together the all-purpose flour, sugar, shortening and vanilla on medium speed until a soft dough forms, 3 to 4 minutes.
Add the food coloring, if using, and mix again on medium until evenly distributed. (You can also divide the crust in half and add the coloring to one portion to get conchas of two colors.) You need the fat to emulsify, so don’t worry about overmixing.
Transfer to a medium bowl and wipe out the mixer bowl to make the cookie dough.
Making the Cookies
In a medium bowl, whisk together the cake flour, baking powder and salt until thoroughly combined.
In the bowl of a stand mixer fitted with the paddle attachment, beat together the butter and sugar on medium until smooth, creamy and somewhat fluffy, 3 to 5 minutes. Add the egg and beat again on medium until combined, followed by the orange blossom water, vanilla and orange zest, and mix again until incorporated; scrape down the bowl.
Add the flour mixture to the bowl and mix on medium-low until a soft dough forms, 1 to 2 minutes. Cover the bowl and refrigerate the dough for 1 hour.
Assembling and Baking
Position racks in the upper and lower thirds of the oven and preheat to 350 degrees. Line two large, rimmed baking sheets with parchment paper.
Use your hands to pull off heaping 1-tablespoon (25-gram*) portions of dough and roll them into smooth balls about 1 inch wide, setting them about 2 inches apart on the prepared sheets. Using your palm, gently press to flatten until they are a little less than 2 inches width
Pull off 2-teaspoon (10-gram*) portions of the crust mixture and roll into smooth balls. Press between your hands and flatten into something like a small tortilla, placing each portion on top of the individual dough balls.
Aim to have the crust portions slightly wider than the cookie balls so that when placed on top, they drape over the sides somewhat.
In a bowl or in a little pile on the counter, dip the concha cutter in a few tablespoons of cake flour. Use the cutter to press the seashell pattern on top of the dough balls. Press just hard enough to flatten the cookies a bit more and leave an imprint on the surface. Don’t cut all the way down. Be sure to dust the cutter before you press each dough ball.
Bake the two sheets for 9 to 12 minutes, just until the edges of the cookies start drying, rotating from top to bottom and front to back halfway through. You don’t want to add much color to the cookies.
Let the cookies rest on the pan for a few minutes, then transfer to a wire rack to cool completely.
* Highly recommend using a scale to weigh out the 25- and 10-gram portions for the cookie and crust respectively. I think this is why my cookies ended up a bit too large.
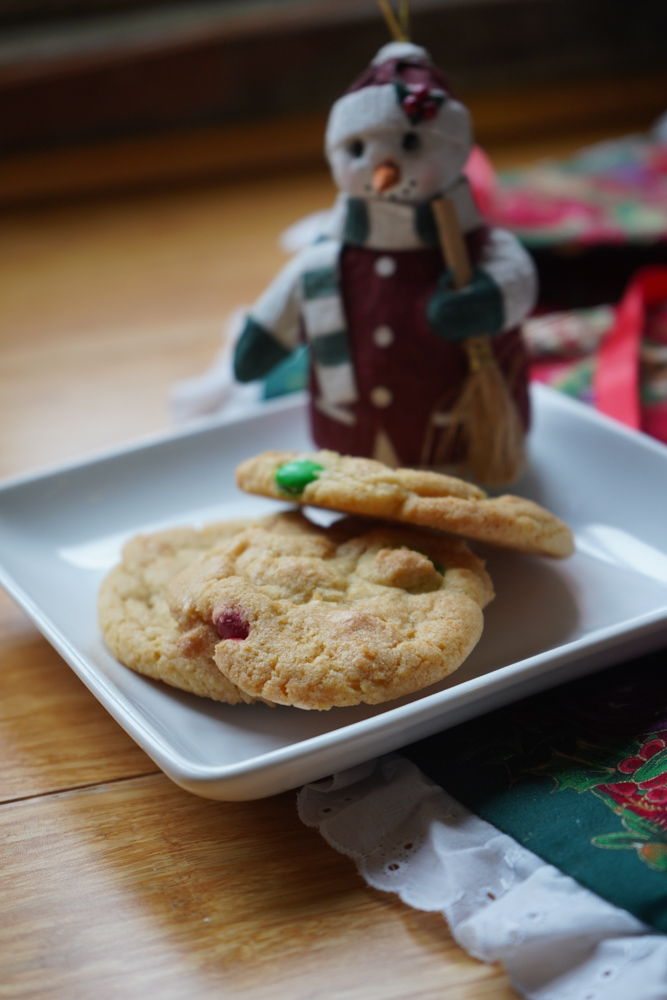
Eric Kim, a writer for the New York Times Cooking and food sections, shared this recipe for M&M Cookies in the New York Times’ 24 Days of Cookies in 2021. It’s one of my favorites not only because the cookie itself is delicious, but because the entire bag of M&Ms is not used. Definitely enjoyed having some M&Ms to snack on while baking.
This recipe could be made in one bowl without a mixer if desired; however, I opted for my trusty Kitchen Aid to help whip the butter until it was extra light. I also highly recommend Mr. Kim’s suggestion to chill the dough even a little bit.
A nicely crisp sugar cookie, these are great year-round.
1 tsp kosher salt or ¾ teaspoon coarse kosher salt
¼ tsp baking soda
1 ½ cups (185 grams) all-purpose flour
½ cup (96 grams) M&M’s
Method
Heat the oven to 350 degrees and line 2 large sheet pans with parchment.
In a large bowl*, whisk together the butter, sugars, egg, vanilla and salt by hand until smooth and fluffy, at least 1 minute.
Whisk in the baking soda, then switch to a rubber spatula.
Add the flour, then carefully and coarsely chop the M&M’s, and add them, too. Gently stir to combine.
Place the bowl in the refrigerator while you wait for the oven to finish heating. (Don’t skip this step)
Using two spoons or a cookie scoop, plop out 2-tablespoon or 50-gram rounds spaced a couple of inches apart on the sheet pans. (You should get about 8 cookies per pan.)
Bake until lightly golden at the edges, 10 to 12 minutes. Let cool completely on the sheet pan; they will continue to cook as they sit.
* I used my stand mixer with paddle attachment. Switch to hand stirring in the M&Ms so they don’t become too pulverized.
At this time of the year when baked goods and treats are everywhere, I always try to ensure there are appealing cookie options for our granddaughter who has an egg allergy. Luckily, finding baked treats that are safe for her is not the challenge it once was as there are many excellent allergy-aware and vegan recipes available on the Internet.
While it’s often easy enough to replace eggs in a recipe (Bob’s Red Mill is one that I’ve been using), recipes that have been developed without using eggs at all often are the most successful. They bake reliably without losing any quality. This is especially true of this recipe, developed by Oriana Romero of Mommy’s Home Cooking. Oriana’s recipes are a safe and delicious way to include cookies, cakes, and even entrees for those with egg allergies.
Honestly, no one will miss the eggs in this cookie – they are that delicious.
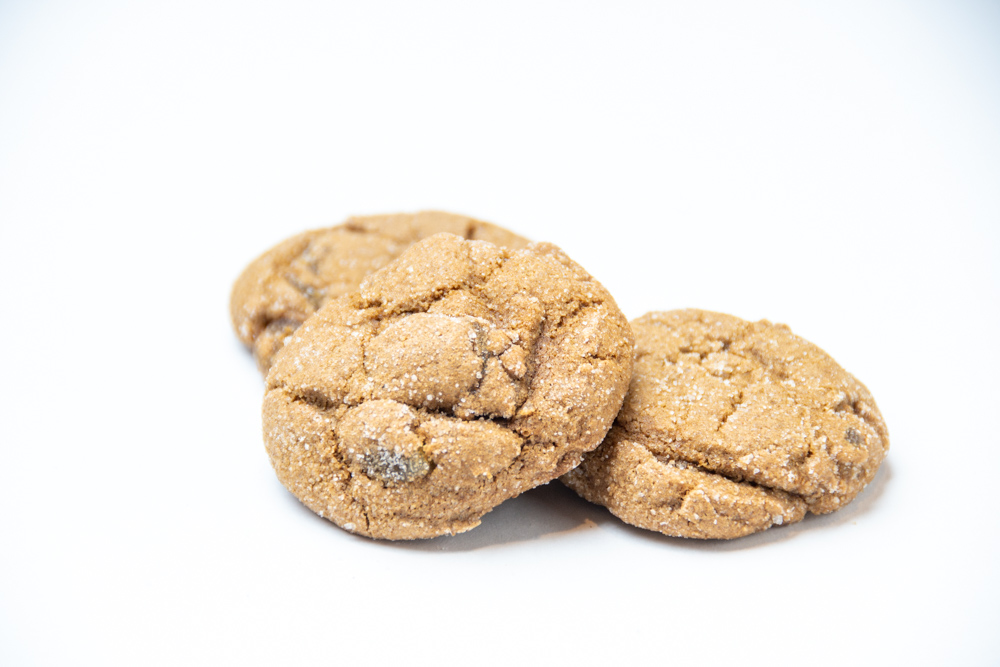
Holiday baking has begun in earnest in our kitchen. Initially I started looking for a cookie to balance out all of the chocolate confections I had been making – something spicy and warming. Leafing through David Lebovit’z Ready for Dessert (page 213), I discovered this wonderfully ginger-forward cookie. Trust me, you won’t have any idea that it is nonfat, it’s THAT good.
Ingredients in the recipe:
AP Flour
Baking soda and salt
Spices: Ground cinnamon, ground ginger, cloves, black pepper
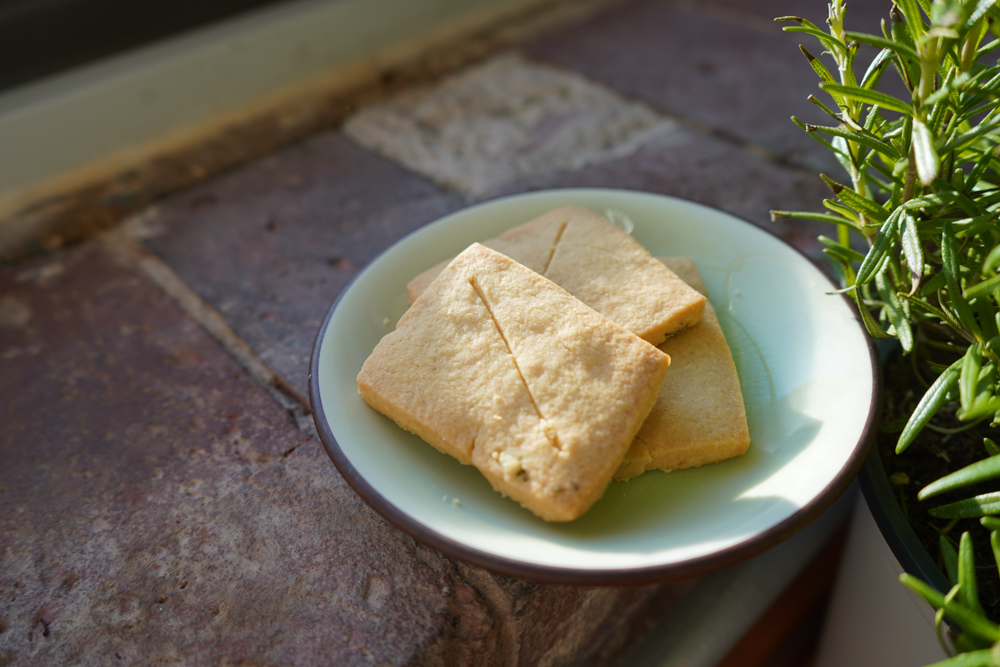
When she was asked about the secret to making delicious cookies, Susan Callahan, owner of Goodies Homemade’s answer was short and to the point: butter. I would second that.
The cookies can be shaped lots of different ways, but I’ve opted for squares and triangles. A great, not-so-fussy cookie that is easy to assemble and bake.




 Four Nights A Week